Friday, June 5, 2015

Slow Cooker Chicken Tortilla Soup

Chicken Tortilla Soup is always a crowd pleaser. You can make this hearty soup as spicy or mild as your tastes prefer. I'm more of a mild salsa kind of gal where my husband and middle son are more hotter the salsa the better kind of people. This recipe is more on the mild-medium side but can easily be spiced up with some Cayenne Pepper, 1/4 tsp at a time until its at your desired heat. It can also be made even more mild by only adding regular diced tomatoes verses the Salsa Style ones my recipe calls for.


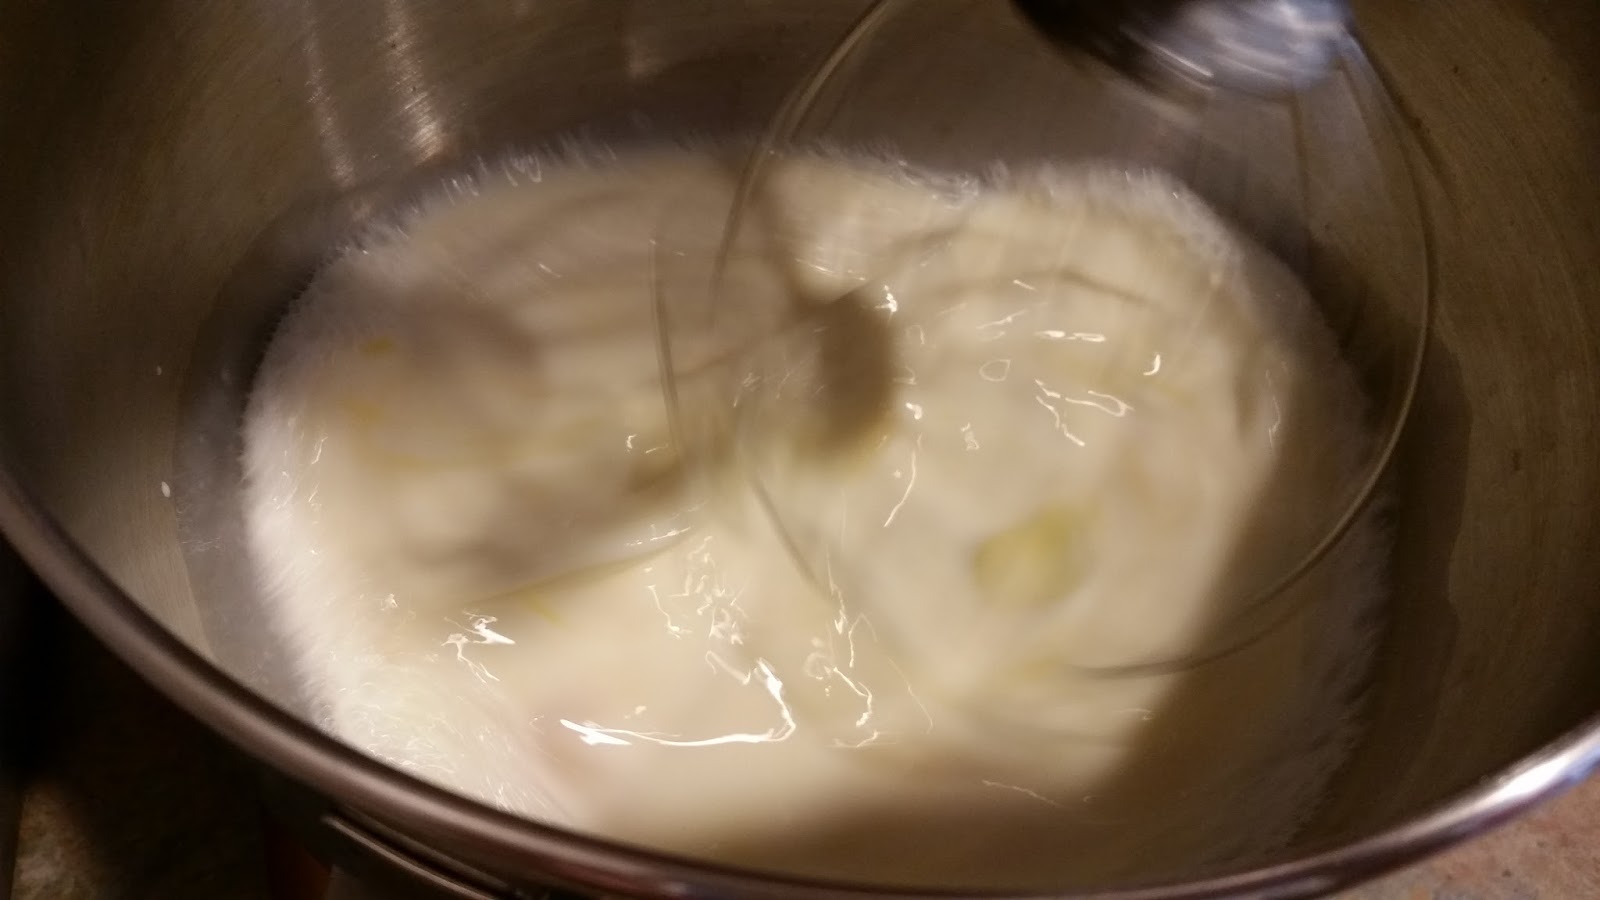
Another nifty tip I have for you is shredding chicken. No longer do I stand for forever shredding chicken with a fork. Thanks to the world wide web I learned I could use my handy stand mixer to shred my chicken. While it is still hot from the slow cooker or if you are boiling/poaching chicken for another recipe, simply toss it in your stand mixer and slowly start the mixer. In less than 2 minutes you will have perfectly shredded chicken. Wha-la!


Ingredients

  • 4 split chicken breasts or 2 whole (frozen or thawed)
  • 2 oz taco seasoning or 4 Tbsp
  • 2 cans black beans, drained
  • 2 cans corn, drained or frozen equivalent 
  • 2 cans chicken broth (15oz)
  • 1 can petite diced tomatoes (26oz)
  • 1 can fire roasted salsa style diced tomatoes (15oz)
  • Garlic salt to taste
  • 2 cups Mexican cheese
  • *optional* 5 corn tortillas 


  • UTENSILS YOU NEED:
  • Slow Cooker
  • Can Opener
  • Measuring Spoons
  • Large Slotted Stirring Spoon
  • Ladle
  • Stand-up Mixer


Directions 

      1. Place chicken breast on bottom of crock pot. 
      2. Top with taco seasonings.                         
      3. Add drained can corn, drained can black beans, all canned tomatoes, and chicken broth.                                                                    
      4. Cover and cook on low for 5 hours. 
      5. Once cooked, remove chicken and shred by hand with forks or use the above tip and shred chicken in your stand-up mixer. 
      6. Return shredded chicken to slow cooker and stir well. 
      7. If you want tortilla chips then preheat oven to 375
      8. Cut tortillas into 1/4 inch strips and bake on center rack for 20 minutes
      9. Serve up your Chicken Tortilla Soup with baked tortilla chips or my personal favorite a handful of Mexican cheese.                                                                                   


  •  

Friday, May 29, 2015

Sausage and Egg Breakfast Casserole

I come from a very southern family and in the south we feed you if there has been illness, birth, death, or just because. Many people tend to bring dinners and cakes. I have found that not too many people think about the first meal of the day. Breakfast is lauded as the most important meal of the day. While a cold bowl of cereal to break our fast is more practical for hurried school mornings, on the weekends and special occasions I like to put a bit more effort into it. This is a great casserole for any occasion. It is both hearty and delicious. Best of all, the most taxing part is browning your sausage.

This breakfast casserole is one I stole from Paula Dean. I simply am giving you a more detailed step by step instructional with pictures to really show you how easy it is and what to expect as you go along. The original recipe can be found here: http://www.foodnetwork.com/recipes/paula-deen/breakfast-casserole-recipe.html

You will notice that this recipe calls for whole milk. My family drinks 1-2% milk but I often do bake with whole milk. There is a reason for that and it comes down to the science of baking. All liquids in baked goods help to bind things together, even if just water. But fat plays a more important role as a moisturizer and tenderizer. That means, cakes, muffins, and even quiches that have a higher fat content will come out with a finer crumb and not so dry. Dry muffins, yuk! Now you can use a lower fat content milk anyways but be careful not to over mix or else your product may come out a little tough.                      


This recipe yields 8-10 servings per casserole.

Ingredients

  • 1 Jimmy Dean Ground Maple Pork Sausage 
  • 8 Large Eggs
  • 6 Slices White Bread
  • 1 cup Mexican Cheese
  • 2 cups Whole Milk
  • 1/4 tsp Seasoned Salt
  • 1 tsp Prepared Mustard
  • 1/2 Pepper
  • Non Stick Cooking Spray

    UTENSILS YOU NEED:
  • 9x13 baking dish
  • Cutting board
  • Bread Knife
  • Frying Pan
  • Large Spoon
  • Large Mixing Bowl 
  • Colander
  • Whisk
  • Measuring Spoons/Cup
Directions 

      1. Preheat oven to 350 degrees
      2. Brown sausage on the stove top on medium heat. No oil is needed as the sausage has plenty of fat content to keep from sticking to the pan.
      3. While the sausage is browning, go ahead and and spray your 9x13 baking dish with the nonstick cooking spray.                                                                      
      4. Next cut the crust off of your white bread. Any knife will do the job but a bread knife is typically a longer knife wit ha serrated edge. It cuts through bread much easier with less tearing of the bread. You want to make a small stack with your bread, lining up the crust edges. Gently place your hand on top of the bread without really pressing down and squishing your bread.                         
      5. Sliced bread in half and layer in your baking dish.
      6. Once sausage is browned, drain well in colander to remove any excess grease. 
      7. Spoon cooked sausage evenly on top of bread slices (promise no one ever guess there is bread on the bottom of this casserole).                                           
      8. Top sausage with your pound of cheese.                                      
      9. In large mixing bowl whisk together eggs, milk, salt, mustard, and pepper together until eggs are well scrambled.                                         
      10. Carefully pour egg mixture on top of the sausage mix.          
      11. Place on center rack in oven and bake until starting to brown, about 40 minutes. 
      12. Enjoy!                                                                 


Tuesday, May 26, 2015

Butter Poached Asparagus

If you like asparagus you will LOVE this stupid simple butter poached recipe. Poaching is basically boiling at a lower temperature (160-180 F).  Butter poaching is merely adding some butter to your cooking liquid for added flavoring. This is always so good and such a big hit that I rarely ever have any leftovers. Poor me :(


Asparagus is actually really easy to cook though if not prepped you will have these hard inedible ends. No bueno. Fortunately you don't need any special tools. You literally hold the asparagus towards the base and snap! The inedible ends pop right off at the exact spot needed. If for whatever reason you prefer to cut them off and have never prepped asparagus before, snap the ends off of one to get a better idea how much is actually waste verses yummy edible veggie. Once you have a better sense then you can absolutely line them all up and cut the same inch (give or take some) off the ends of your spears. 

Before and after pic

This is a side dish so how much asparagus you need is directly dependent on how much you love asparagus. My family of 5 will eat 2 pounds of asparagus with no problem. If you have a leftovers, this reheats well. 
Ingredients

  • 2 pounds asparagus 
  • 1 cup water
  • 1 sticks of butter
  • 3 tsp salt or to taste
 
    UTENSILS YOU NEED:
  • 9x13 baking dish
  • Cutting board
  • Knife

Directions 

      1. Preheat oven to 375.
      2. Prep your asparagus. I buy mine in these large packages from Sams Club. I do not toss the bags right away and instead keep it around for my trash. 
      3. Once the ends are snapped, place in you baking dish and add 1 cup of water.
      4. Cut your stick butter in about 1/2 inch increments and place on top of asparagus as shown and salt.                                          
      5. Cover with tin foil.                                   
      6. Place on center rack in oven for 30-45 minutes. If you have thin spears you really want to start checking doneness at 30 minutes. I get these larger spears that typically take closer to 45 minutes to cook.
      7. When timer goes off, test doneness with a fork. You want them to be tender and easy to spear but not so cooked they are baby food tender. 
      8. Serve up and enjoy!!                                                                                      *pictured is Mexican Meatballs over white rice with butter poached asparagus

Tuesday, May 12, 2015

Oatmeal Blueberry Muffins

I personally LOVE a good breakfast muffin. What I don't love is the calories, carbs and fat that go along with it. Plus I could easily eat 6 of those suckers without feeling full. By slightly altering a traditional Blueberry muffin recipe I have more than halved the fat, reduced the calories by over a 1/3, and lowered the carb count per muffin. Best yet these are filling! My husband was eating about 3 muffins for breakfast and the kids were eating 1-2 each. These also make for great post workout snacks or mid day snacks for kids.


This recipe is very versatile. You can easily substitute fresh or frozen cranberries, apples, blackberries, or whatever floats your boat. This simple recipe takes about 10-15 minutes to prep and 25-30 minutes to bake and makes 18 muffins!

Ingredients

  • 2 ripe bananas (the riper the sweeter)
  • 1 egg
  • 1/4 cup of olive oil
  • 1/3 cup almond milk
  • 1/3 cup sugar
  • 1 cup all purpose flour
  • 1 3/4 cup of oatmeal
  • 3 tsp baking powder
  • 1/4 cup chopped walnuts (not crushed)
  • 1 1/2 - 2 cups blueberries 
  • dash of cinnamon

    UTENSILS YOU NEED:
  • Mixing Bowl
  • Whisk/Mixer
  • Colander if Using Frozen Fruit
  • Large Spoon or Silicone Spatula
  • Cutting Board
  • Knife for Chopping Walnuts
  • Measuring Cup/Spoons
  • Muffin Tin
  • Muffin Tin Liners
  • Ice Cream Scoop


Directions 
    FOR THE muffins:

      1. Preheat oven to 350 and line your muffin pan with liners.
      2. If you are using frozen fruit You need to get it out now and start defrosting by either running under a light stream of warm (not hot) water or microwaving for 30 seconds and drain well. 
      3. In a bowl with a wire whisk or a mixer, combine your bananas, milk, oil, sugar, and egg.                                                                   
      4. Next add your dry ingredients. Flour, oats, cinnamon, and baking powder. Mix/whisk until well incorporated.                         
      5. Gently fold in your blueberries or other fruit and walnuts.
      6. With a medium ice cream or cookie scoop, fill each tin about 3/4 full.
      7. Bake 25-30 minutes or until you can insert a toothpick or butter knife in the center and it comes out clean.                          
      8. Remove muffins from the pan immediately and let cool on wire rack.